
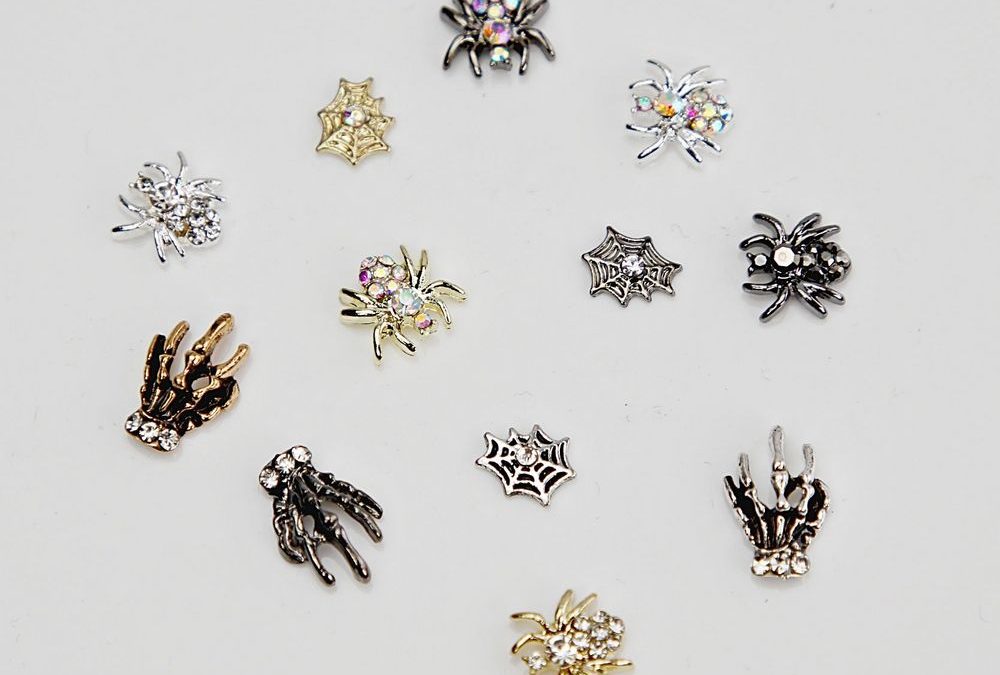
Picture a tiny pop-up table at a weekend market where you’ve set up a quick station: a matte black press-on, a small lamp, a bead tray and a neat clear box of charms waiting to turn a basic mani into something with bite. You want gear that travels well, sits flat in a pouch and gives you high-impact detail without bulky bottles or loose glitters scattered across your work surface.
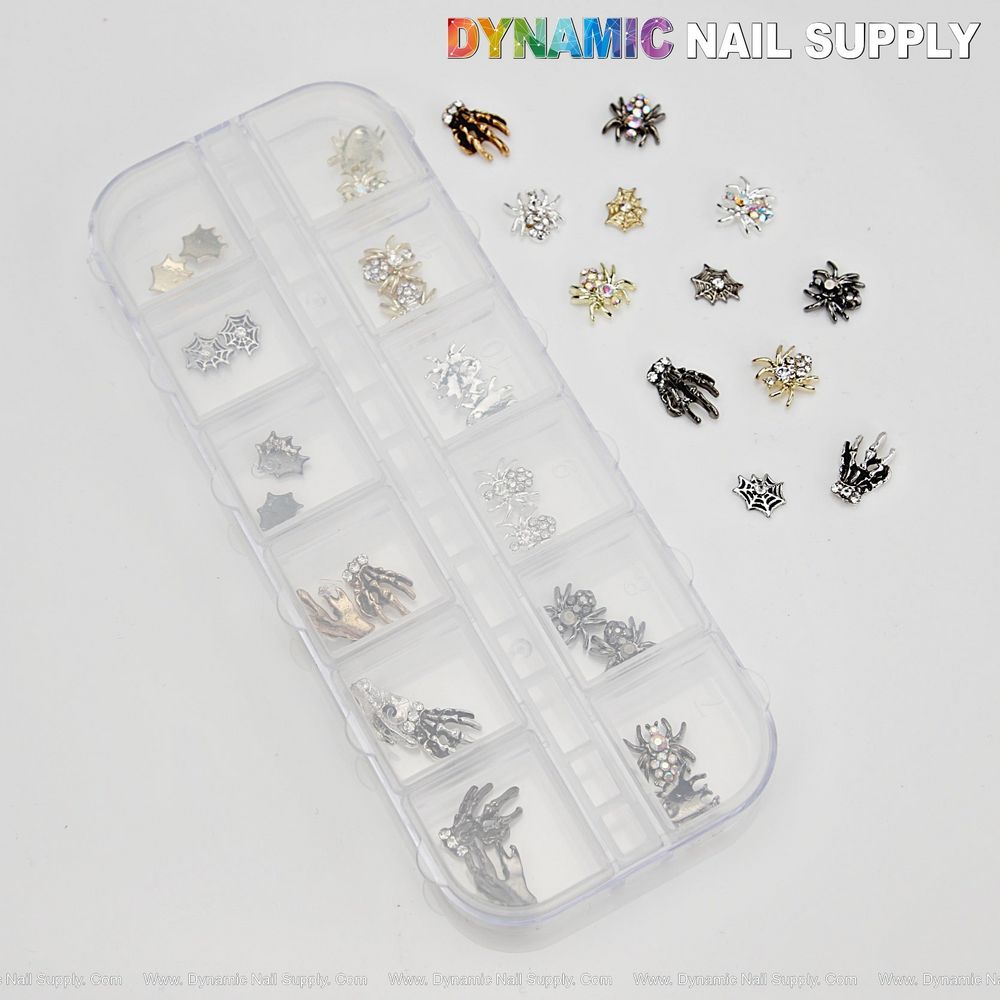
If you want to see the exact mix of spiders, skulls and AB rhinestones for a compact kit, check out Halloween Nail Charms to examine the set closely.
How to pack a compact charm kit
Start with a rigid, clear compartment box — the photo shows the charms organized in a small plastic case so you can see mixed silver, gold and gunmetal pieces at a glance. Use foam or a thin sheet of felt under the compartments to keep metal pieces from rattling and to protect delicate rhinestones, and label each compartment for motif: spiders, webs, skeleton hands. Keep a resealable tiny bag for any spare AB rhinestones and a strip of low-tack tape to hold a chosen charm in place while you work. If you like, designate one compartment for application tools: a pointed wax pencil or dotting tool, a fine tweezer and a cotton swab.
How to select base nails and finishes
Match the charms’ mixed-metal palette to your base to make the most of their reflective finishes: a matte black or textured grey base highlights the dark gunmetal and gold contrasts, while a chrome silver base emphasizes the bright silver and faceted AB sparkle. For travel setups choose pre-shaped press-ons or thin full-cover tips that you can glue and finish in under twenty minutes; they lie flat and reduce the number of liquids you need to carry. Keep a small bottle of fast-cure top coat for sealing single-nail accents and a narrow brush for precise cleanups.
How to apply charms when you’re away from the salon
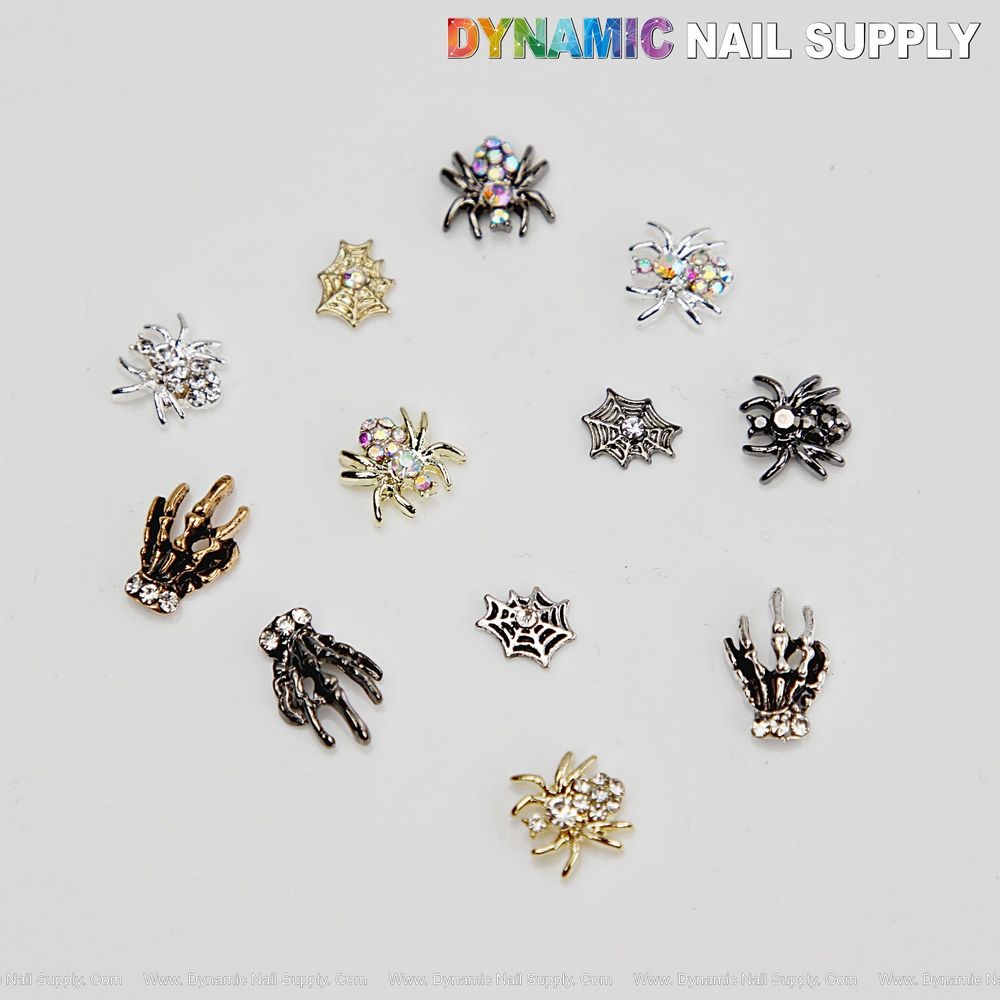
Work on a small silicone mat or a clean napkin so nothing slips. Use a fine tweezer to pick the charm and test placement on the press-on before adhering. For low-profile metal pieces, a tiny dab of gel top coat cured under a mini lamp or a thin drop of strong nail glue works; both are compact options for a kit. Press the charm into place, hold for the recommended set time, then lock it in with a sweep of top coat only over the attachment point so the charm remains a subtle raised accent rather than a bulky ridge. The set shown pairs small rhinestones with metallic spiders and hand-shaped skeleton accents, so aim to bead around the charm rather than fully encase it to preserve sparkle and texture.
How to plan charm placement for clean results
Think like a jeweler: less is usually more in a travel kit where you want a clean, wearable result. Place tiny charms at the cuticle for negative-space looks, cluster a rhinestone spider as a focal point on one nail, or mix a gold skull with a gunmetal spider on a single accent nail for contrast. When working on press-ons, glue and finish one nail at a time rather than all at once to avoid scrambling tools in a small space. Keep a corner of your kit for cotton swabs and isopropyl wipes to remove any adhesive residue — a small bottle goes a long way.
How to maintain and store charms between uses
After a session, return charms to the clear compartments and check rhinestones for looseness; the small AB stones gleam most when seated flat. If you travel often, add a thin sheet of bubble wrap around your compartment box to avoid crushed pieces. Store the kit in a rigid pouch inside your tote to prevent crushing and keep humidity low to protect metal finishes. You can reference the product and arrangement when building your kit:
How to handle safety and tiny parts
These are small metal pieces with faceted rhinestones and should be kept out of reach of children and pets; use tweezers instead of fingers to reduce the chance of accidental drops. Avoid placing charms in your mouth and dispose of any broken rhinestones. When transporting, secure lids and keep adhesive containers upright to prevent spills.
Mini glossary
- AB — iridescent rhinestone finish that flashes multiple colors.
- Low-profile — thin charm design that sits close to the nail surface.
- Press-on — pre-shaped artificial nail you can glue on and finish.
- Top coat seal — clear layer applied over attachment points to lock charms in place.
For a compact, travel-ready selection you’ll appreciate the mixed-metal set’s flexibility and the way small reflective stones catch light without overwhelming a single accent nail; prices may change but expect wallet-friendly options under $10 at the time of listing.
Quick reference
- Pack in a clear compartment box with felt base.
- Bring only one adhesive and one mini top coat.
- Place charms on cuticle or single accent nail for easiest wear.
- Use tweezers, keep parts away from children, and store in a rigid pouch.