
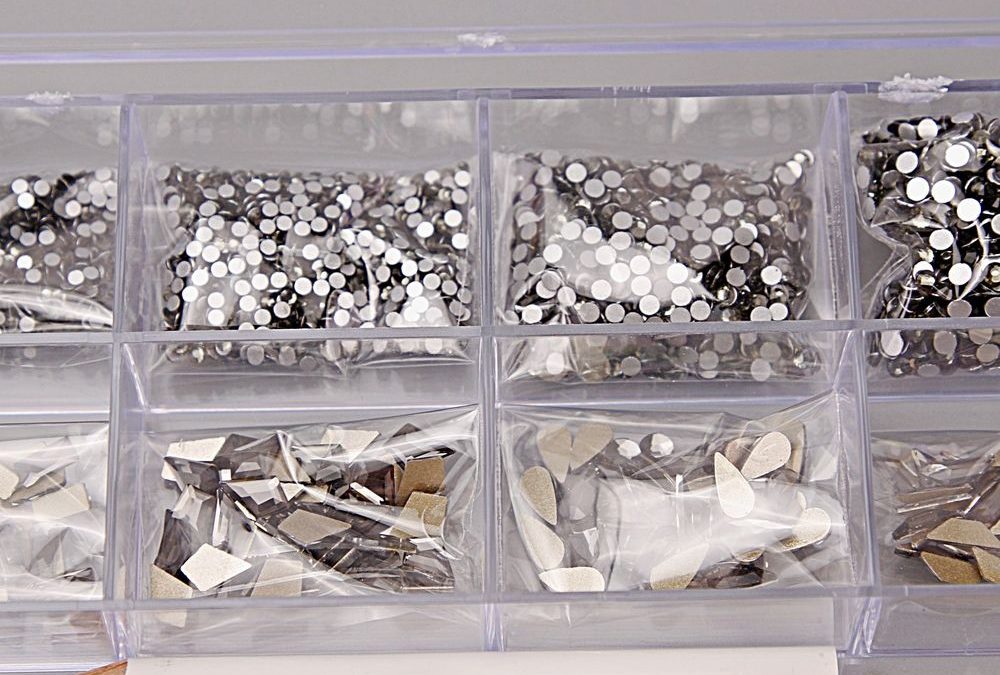
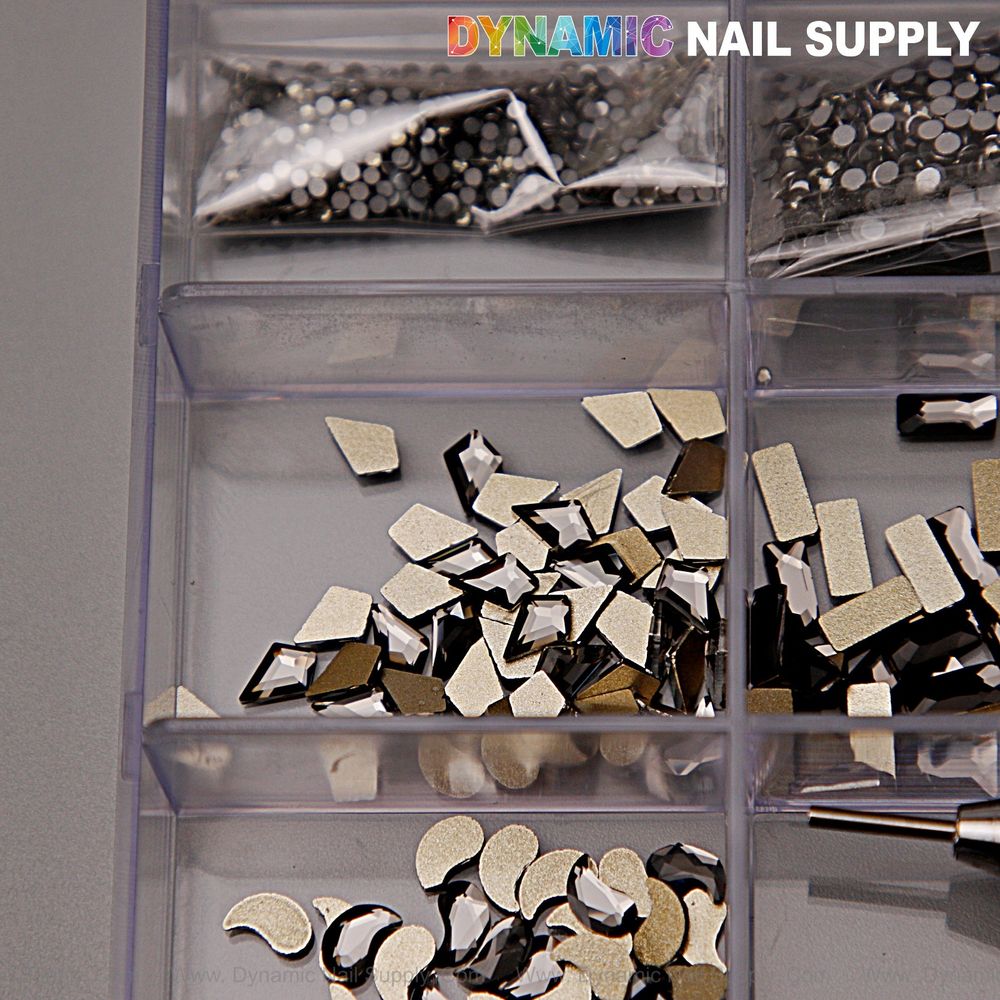
You’re at a small station between clients, a clear 20-cell box open beside your lamp while a mix of chrome silver rounds and warm gold faceted pieces catch the light; this particular Black Silver-back mixed Gold-back set lives in your compact kit so you can switch looks without lugging a whole drawer of supplies. When you work on the go or keep a travel-ready box for appointments, the question isn’t if you’ll use these pieces again, it’s how you sanitize metal-backed rhinestones without dulling their mirror finish or damaging the thin metallic backs.
How to prepare a travel kit before cleaning rhinestones
Start by setting a small, designated workspace in your kit that stays separate from used tools and products. Line a shallow tray or reusable silicone mat inside the clear box or travel pouch so you can isolate contaminated pieces. Keep one cell reserved for used components, another for cleaned ones, and a third for items you’ll discard. Have a soft, lint-free towel, a small container for a gentle solution, and the included rhinestone picker or a pencil-tipped tool ready; the set’s picker and pencil tip are purposefully compact for this kind of mobile workflow.
How to choose a sanitizing method that preserves finishes
Not all disinfectants are safe for metal-backed embellishments, especially those with darker gunmetal or black-backed silver pieces whose backing can be more delicate. For travel and salon reuse you want a method that reduces biological risk while avoiding abrasives, aggressive solvents, or extended soaking that could lift adhesive or change reflective surfaces. A short, surface-focused process using a mild, pH-neutral detergent and targeted wiping is your baseline for most exchanges between clients.
How to sanitize metal-backed rhinestones: step-by-step for safe reuse
- Remove visible debris: Using the rhinestone picker or the pencil tip, gently dislodge any dried adhesive or product residue from the flat back and facets without scraping. Work over your tray so loose bits fall away.
- Prepare a gentle solution: In a small sealed container, mix warm water with a drop of mild, pH-neutral soap. You only need a shallow amount—enough to wet a cotton swab or microbrush.
- Targeted wiping: Dip a microbrush or cotton swap into the solution, squeeze out excess, and lightly wipe each stone’s back and facets. Use brief, single-direction strokes to avoid rubbing abrasive particles across the mirror finish.
- Rinse in controlled fashion: Instead of soaking, quickly wipe the piece with a second damp, clean swab or use a spray bottle with filtered water to mist and remove soap residue, then immediately blot dry with a lint-free towel.
- Disinfect selectively: For the final step, use a 70% isopropyl alcohol wipe or spray applied to a lint-free pad and pass it once over the back only—avoid saturating the stone and keep contact time brief. This reduces microbial load while minimizing exposure to solvents that could dull metallic finishes.
- Dry and inspect: Let pieces air for a minute in a clean open cell, then inspect under good light. If any backing looks compromised, pull that cell out and replace those pieces; don’t risk reuse.
How to handle black-backed and mixed-metal pieces differently
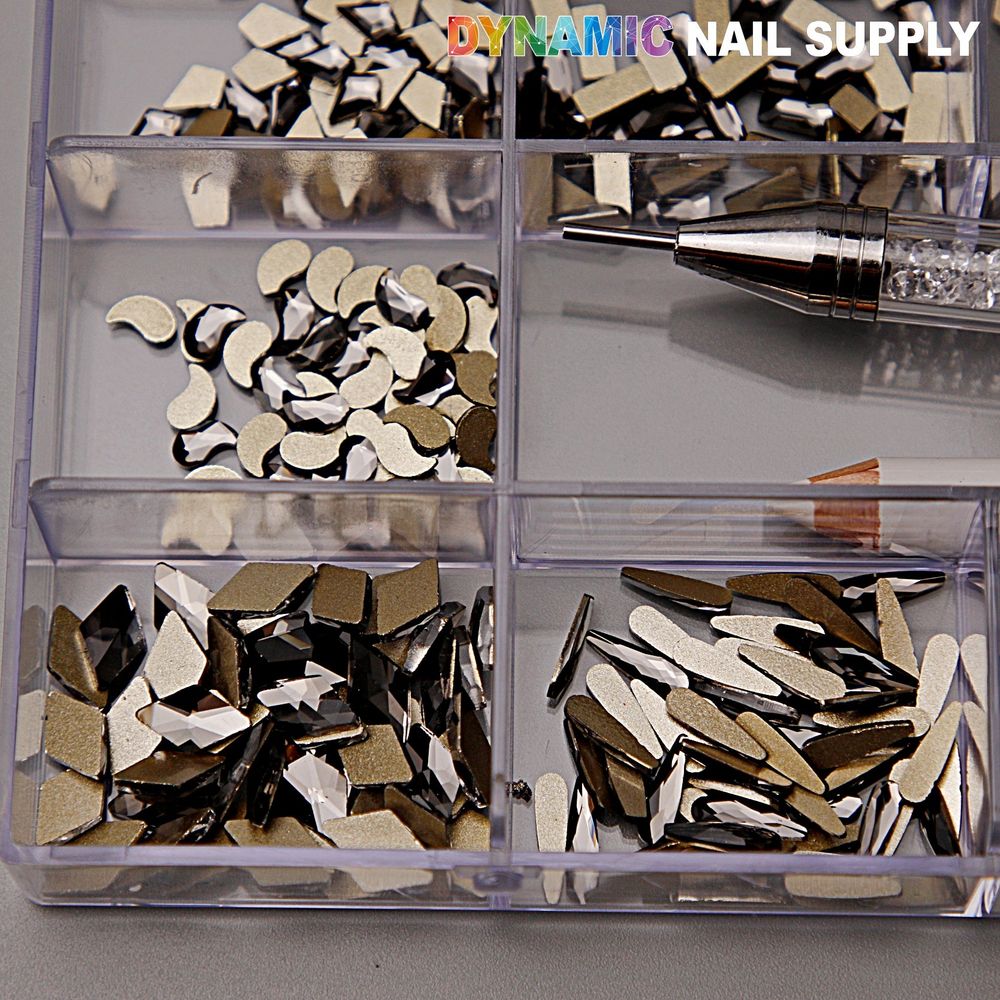
Black-backed silver rounds and warm gold faceted shapes are what makes this set distinctive, and their backs can react differently to cleaning. Treat darker gunmetal or black-backed pieces with extra caution: shorter exposure to liquids, gentler wiping pressure, and immediate drying. The bright silver mirror rounds can usually tolerate the same process but avoid prolonged alcohol contact on any metallic backing to keep that chrome shine intact.
For a quick reference to this set while you pack a kit, consider this short lead-in before ordering extras:
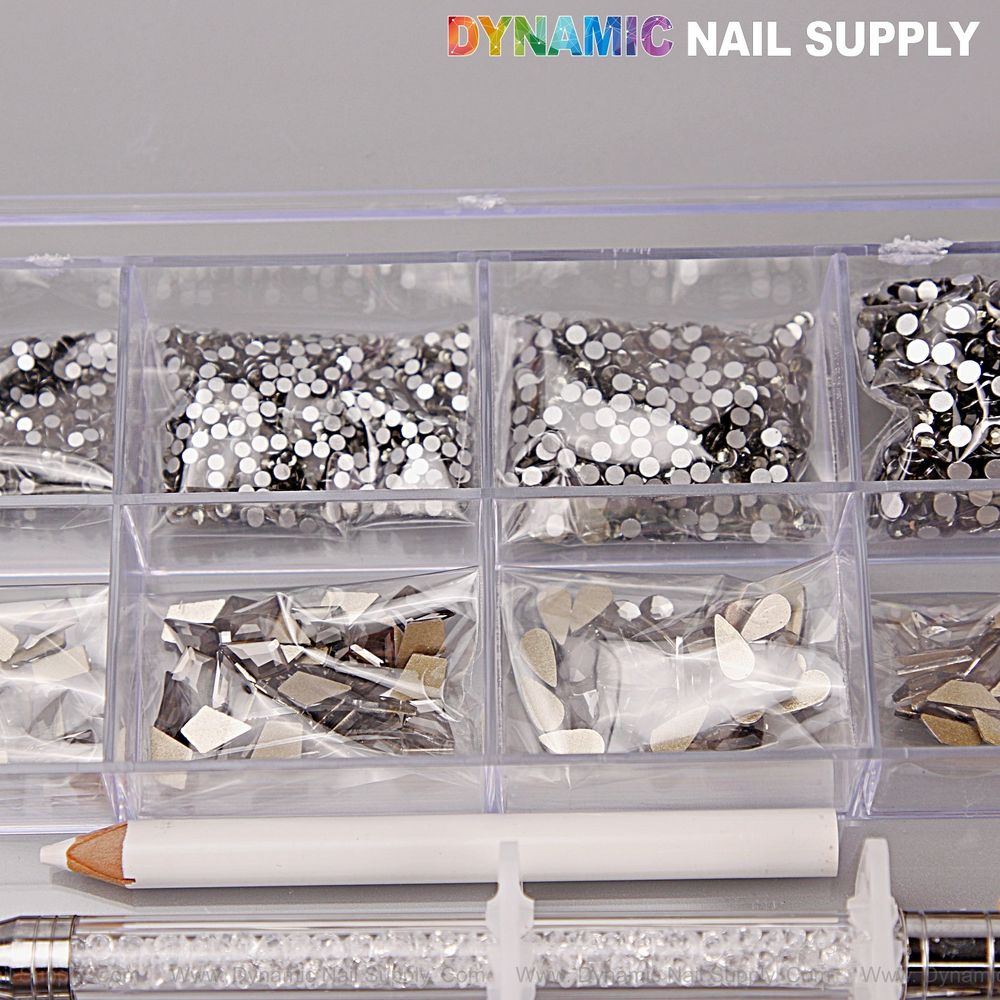
Black Silver-back mixed Gold-back rhinestones
How to store rhinestones in a compact, hygienic kit
- Keep cleaned and used cells physically separated; use colored stickers or tape to mark status.
- Store the clear box flat to avoid rubbing pieces together; a compact silicone sheet between rows prevents chipping.
- Pack disposable swabs, a small bottle of 70% isopropyl, and a lint-free cloth so you have everything for touch-up cleaning between clients.
- Rotate pieces: if you rely on a few favorite cells for multiple clients in a day, limit the total reuse and refresh frequently.
How to include safety notes without overcomplicating a mobile setup
Do not claim that basic wiping sterilizes to medical standards; these steps reduce cross-contamination risk for typical salon service and travel use but are not surgical sterilization. Avoid shared saliva-contact implements; always use tools and never fingers to place stones. Dispose of any rhinestones that show flaking, discoloration, or lifted backing.
Mini glossary
- Flatback: Rhinestones with a smooth underside designed to sit flush on nail surface.
- Black-backed: Dark gunmetal or black metallic backing that can be more sensitive to solvents.
- Mirror finish: Highly reflective chrome-like surface on rounds and faceted pieces.
Quick reference list:
- Use gentle soap + targeted wiping, not soaking.
- Limit alcohol contact and dry immediately.
- Separate used and clean cells in your travel box.
- Discard any piece with backing damage.