
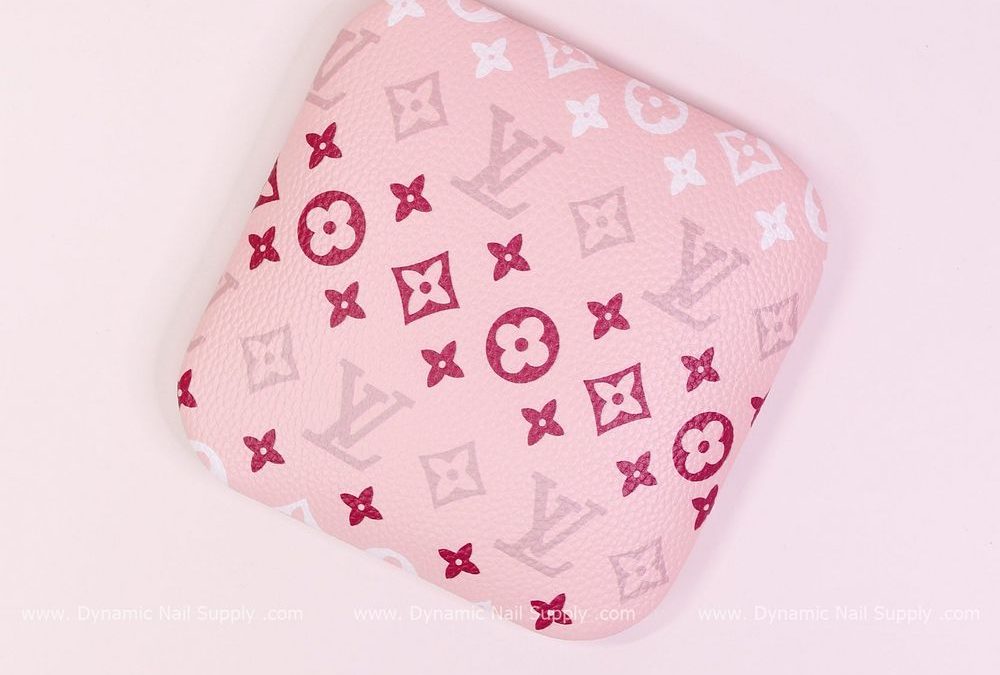
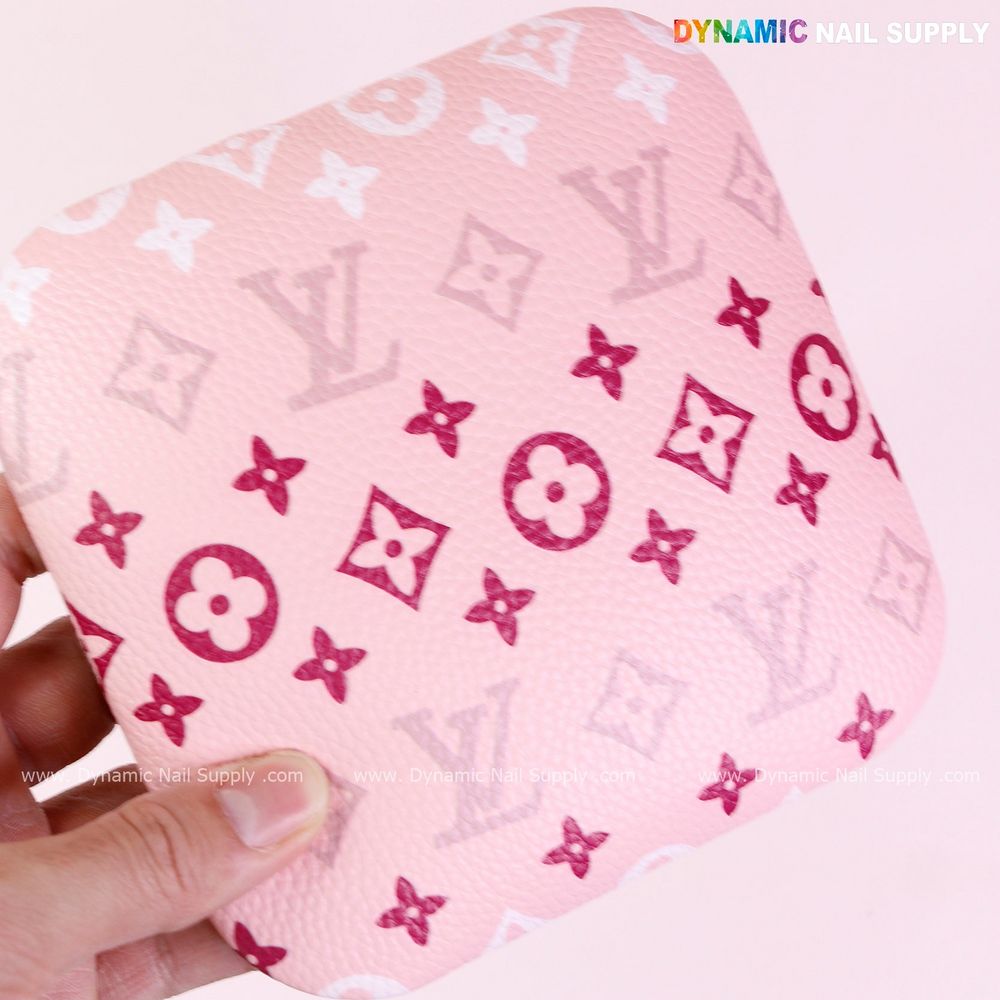
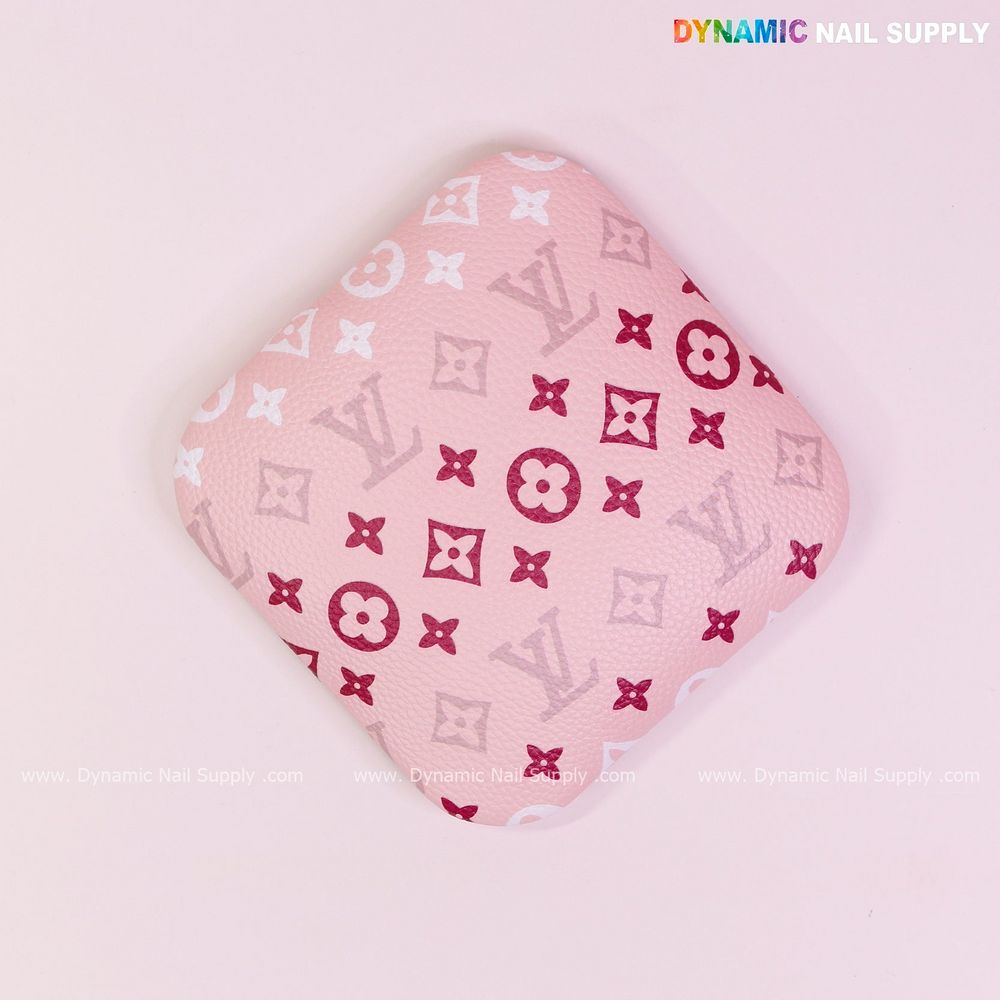
Imagine a busy at-home setup: the lamp is low, the client’s hand is cupped and you reach for a cushioned pad that reads soft blush with deep magenta motifs. That specific piece — the (RA018) Armrest Technicians Soft, Supportive, and Built Long Hours — is compact, pretty, and clearly built for long shifts, but its printed matte faux-leather with glossy ink accents can make certain glove materials slide when you need absolute stability. This article is about how to prevent glove slip elbow rest using tactical choices you can pack in a portable kit and apply mid-shift without fuss.
How to choose gloves that play nice with pebbled faux-leather
Start by thinking material and finish. Smooth, powder-free nitrile often improves tactility but on a pebbled, printed surface with glossy highlights it can slip depending on the glove finish. Instead, pack a mix: a textured nitrile or lightly textured vinyl for the bulk of services where precision matters, and a smoother pair for tasks that require tactile sensitivity. Test a single finger before committing to an entire pair — slide the fingertip across the dusty-rose pad and note whether the fingertip catches on the pebbled grain or slides over the glossy print. Keep small sizes and a mid-size texture option in your kit so you can swap quickly if the client position or pad angle changes.
How to adjust hand and client positioning to reduce shear
Hand placement is a low-tech fix that pays off. Position the client so the forearm rests naturally on the central ridge of the pad and the hand sits slightly forward of the glossy magenta motif, where the pebbled texture dominates. You work from anchor points: bend the client’s wrist just enough so your palm can rest lightly against the side of the pad, creating a three-point stabilization (forearm, thumb side, and your working hand). Small shifts in angle — a few degrees toward you or away — change how glove material contacts glossy print versus matte pebbled areas, so train yourself to feel for a change in resistance and adjust once, rather than re-gripping repeatedly during line work.
How to add micro-texture or barrier layers in a compact kit
For mobile work you want options that are lightweight and reversible. Pack a strip of thin medical-grade kinesiology tape, a small roll of low-tack matte gaffer tape, and a sheet of micro-adhesive dots (available in salon supply). Use these sparingly: a 1–2 cm strip of tape on the underside edge of your glove palm or a half-dot at the base of the fingers gives immediate friction without damaging the faux-leather surface. If you prefer a removable barrier on the pad itself, cut a thumb-sized piece of matte non-slip shelf liner and tuck it under the client’s hand area; it adds grip but leaves the printed motif visible around the edges for styling. Always test any adhesive on a hidden corner of the pad first to confirm it lifts cleanly.
How to maintain the pad’s surface to preserve grip characteristics
Surface condition matters. The pebbled finish and glossy ink accents create contrast in friction; build-up of product residue makes glossy areas slipperier and dulls the matte grain. Wipe the pad between clients with a damp cloth and a mild, non-abrasive cleaner you trust; avoid strong solvents or corrosive agents that can soften printed ink or break down the faux-leather coating. If a spill leaves a tacky film, remove it gently with a damp microfiber and allow to air dry before using any tape or barrier — tackiness interacts unpredictably with glove texture and any micro-adhesive fixes.
How to pack this routine into a compact kit
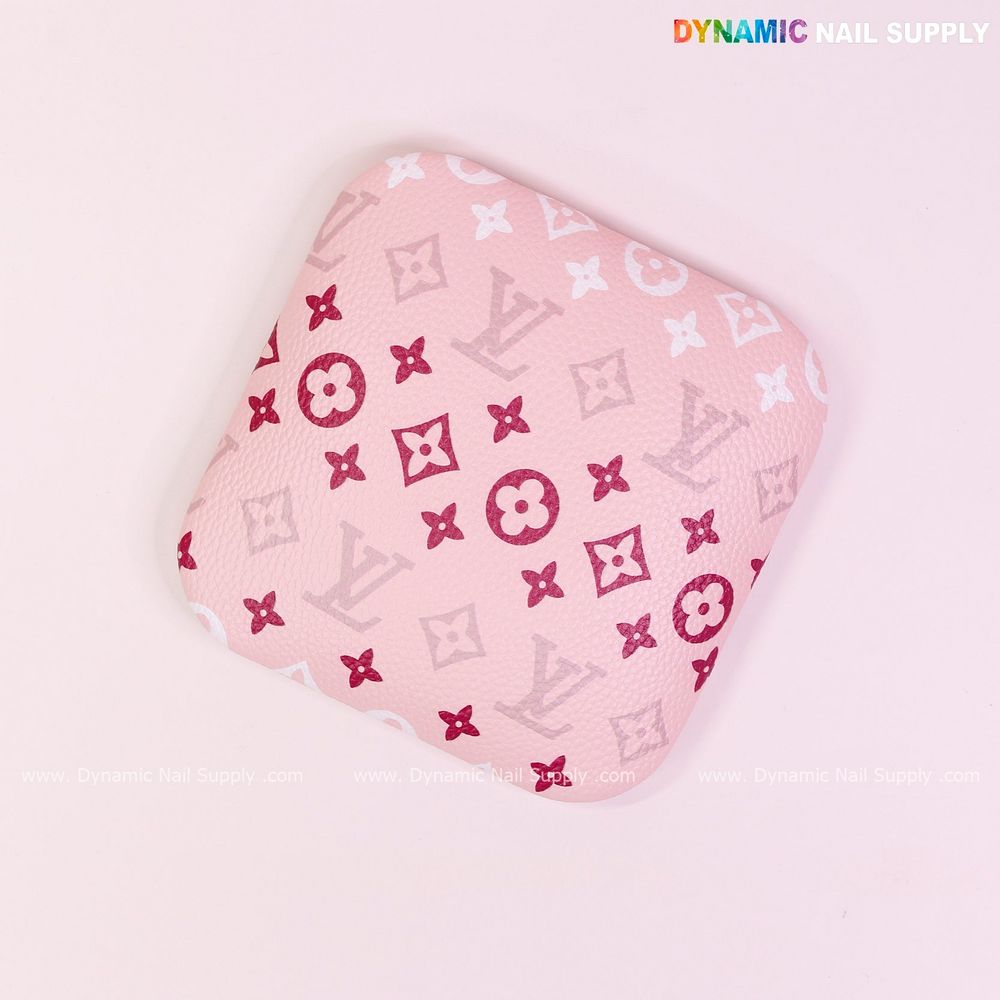
When you build a portable kit for precision services, keep dedicated sections for friction-control items: 1) a small zip bag with two textures of gloves, 2) a tiny roll of gaffer tape and a few pre-cut tape tabs, and 3) a slim patch of matte shelf liner or adhesive dots. Pack the (RA018) armrest in a soft pouch so the printed matte surface and glossy pins don’t rub against other items; its pebbled PVC stand-up shape makes it easy to slide in and out of a clutch kit. If you’re billing mobile services, a simple, discreet label on the pouch with your chosen texture combo prevents second-guessing between appointments.
How to troubleshoot common slip moments
- If your glove consistently skates over glossy ink, switch to a lightly textured glove or apply a tiny non-adhesive rubber grip patch to your palm.
- If grip is inconsistent across the pad, reposition the client so the working zone sits over the pebbled area rather than the printed motif.
- If adhesive fixes leave residue, stop using that product and choose a low-residue, removable option tested on an inconspicuous area first.
Mini Glossary
- Pebbled: textured faux-leather surface that gives tactile friction.
- Glossy ink accents: printed highlights that are smoother and more slippery.
- Micro-texture: tiny added friction solutions like dots, tape, or shelf liner.
Quick reference: keep textured gloves handy, position the hand slightly forward of glossy motifs, carry small tape tabs or adhesive dots, wipe residues after every client, and test any adhesive on a hidden edge first. For steady portable work with the (RA018) Armrest Technicians Soft, Supportive, and Built Long Hours use compact friction tools in your kit and adjust positioning rather than forcing a grip change mid-stroke; prices may change but the pad’s stability and palette make it worth packing.
To include this armrest in a mobile kit without sacrificing steadiness, plan for a small friction kit and a routine wipe-down between clients; Elbow Armrest RA018