
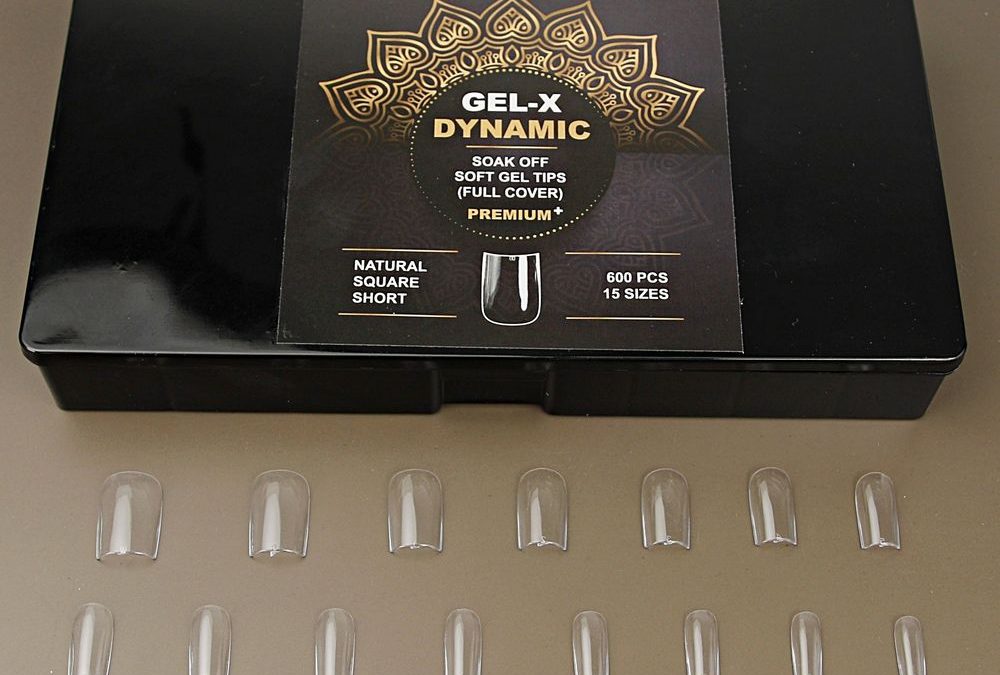
Imagine a client sitting at your station asking for a neat short-square set that looks deliberate rather than hacked, while you have only a compact box on your cart. The Natural Square (Short) full cover soft-gel tips in the black box were made for that moment: clear full-cover tips presented in a high-contrast black-and-gold package, sized and organized so you can move quickly without guessing.
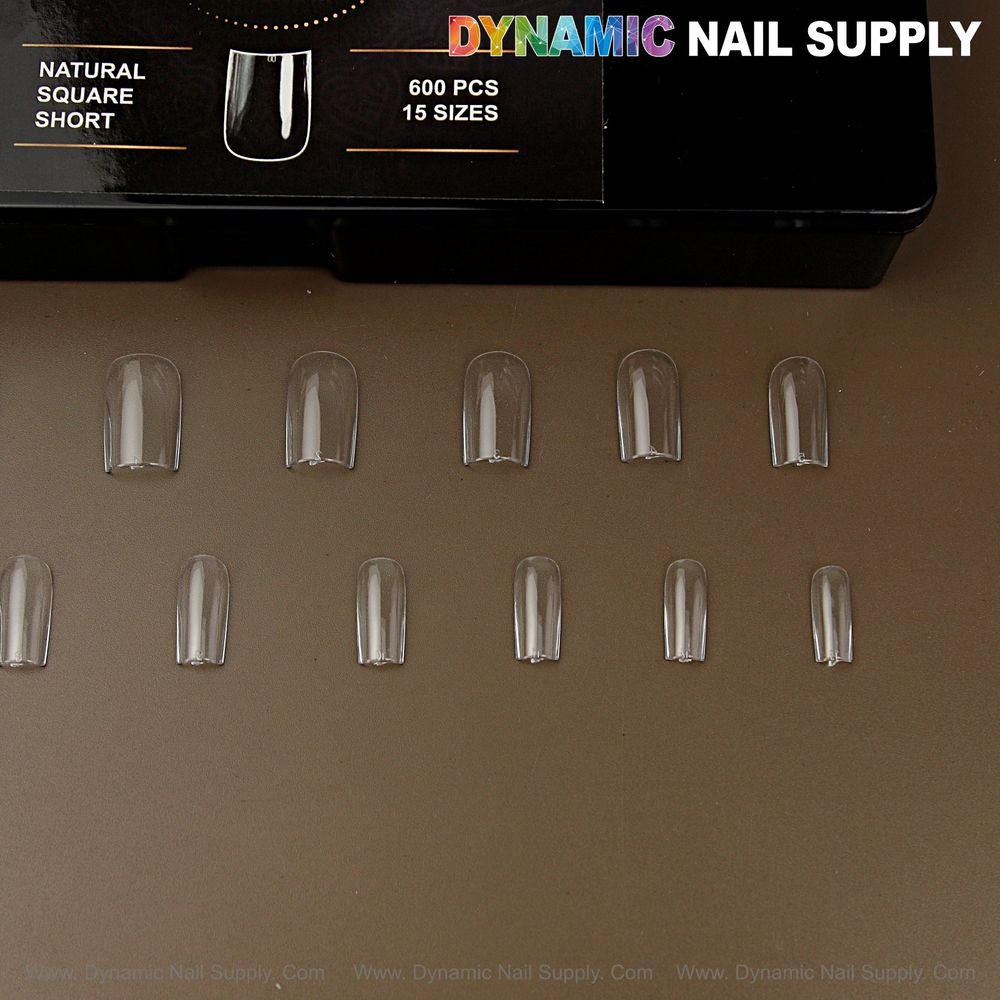
How to measure nail beds quickly and accurately
Start with clean, dry natural nails and good lighting. Ask the client to relax their hand flat so you can view the nail plate shape and width unobstructed. Use a thin metal ruler or a sizing stick and measure across the widest part of the natural nail plate — this is the single most reliable number for picking a closest-fit full cover. Because these tips are full cover and designed with a clear size number on each piece, you can match visually and confirm by width rather than length. For very narrow or wide plates, hold the tip over the nail to check how much of the sidewall will be covered; you want the tip to sit flush without squeezing the cuticle or leaving visible gaps at the side.
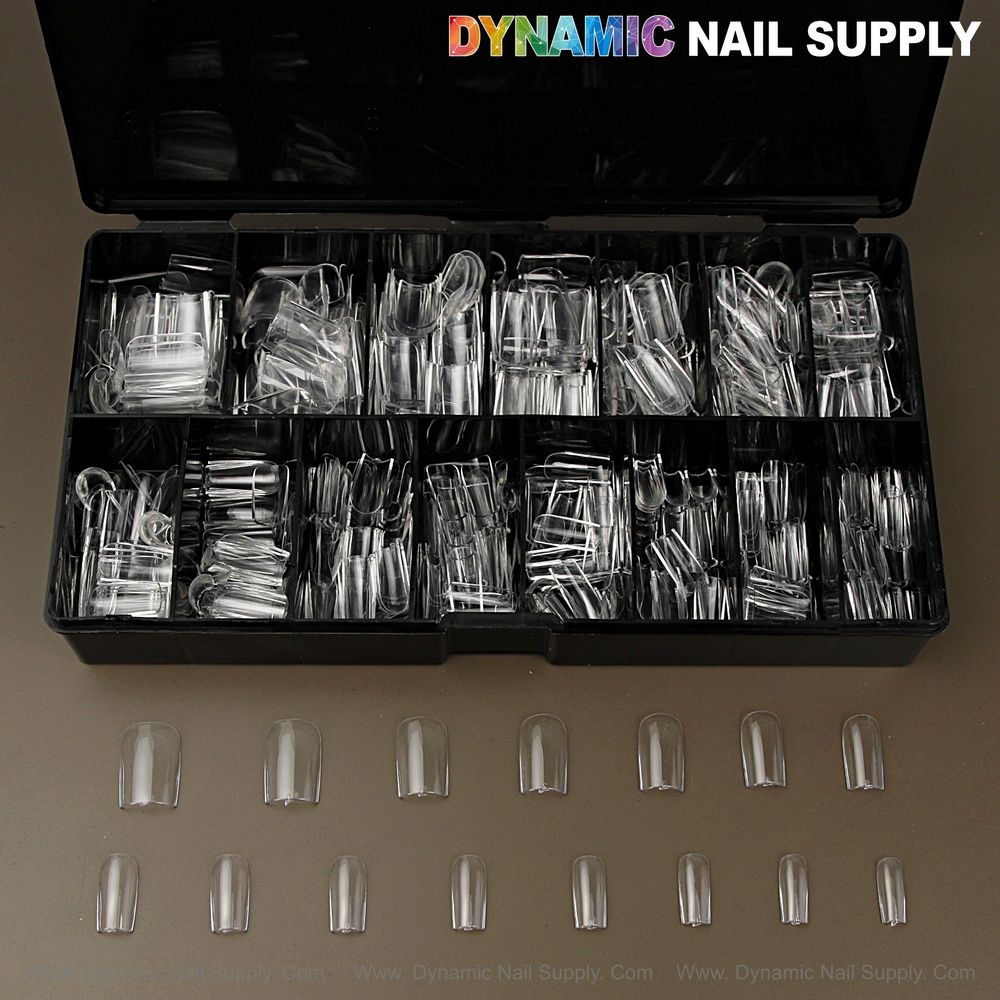
How to select sizes from the Natural Square (Short) black box
The box is arranged by sizes and each size is separated for fast selection, which is where the black-and-gold presentation helps — the white printed size numbers contrast sharply against the dark packaging and make scanning multiple trays quick. Once you have the measured width, choose the tip whose number equals or is one size larger than the measured millimeter width; full-cover soft-gel tips flex slightly and prefer a touch room rather than a forced squeeze. For thumbs and dominant hand nails, you may step up one size if the natural plate is slightly broader. Keep a single row of backup sizes in your portable kit to handle asymmetrical hands or nails with unusual curves.
How to prep and minimal shaping for short-square consistency
Prep should be compact and deliberate: file the natural nail edge to remove snags, buff the shine gently with a 180 grit buffer, and clean with a dehydrator. When you fit the Natural Square (Short) tip, check for an even contact line across the cuticle area; these full-cover tips are designed to sit close to the cuticle when applied at a 45° angle, so trimming the base of the tip is rarely required if you chose the right size. For shaping, use a small clippers or tip cutter to remove unwanted length, then refine the short-square silhouette with a medium-grit file — take small passes along the free edge to keep the square corner crisp without over-thinning the sidewalls. Keep the glossy top surface intact until final finishing to avoid micro-scratches during handling.
How to avoid lifting and bubbles during on-the-go sets
The soft gel construction of these tips tolerates slight flex, but adhesion rules do not change. Work in a dust-minimized area, apply a dehydrator and a primer or max bond product sparingly, and prep the underside of the tip with a quick buff to increase mechanical adhesion. Apply a thin bead of your chosen extend gel or glue gel to the underside, seat the tip at 45°, and press forward to evacuate any air — hold while you flash-cure to set the contact. If you are using a non-wipe builder gel, reduce movement between flash and full cure to prevent shifting. A smooth, even bead and correct seating angle are the two quickest ways to eliminate bubbles and lifting in a compact workflow.
How to standardize sizing for repeat clients and mobile kits
Keep a small client log that lists the size numbers you used for each finger — the white size numbers on every tip make this simple. Photograph the fit if you want a visual record. In a portable kit, arrange your most-used sizes frontmost and keep a strip of emergency sizes for asymmetrical sets. The clear finish of the tips accepts trimming and filing easily, so you can finish to a uniform short-square edge even when clients bring different length preferences. For fast turnaround, prepare the natural nails while someone else sizes the tips, then complete application in sequence from pinky to thumb to maintain consistent curing order.
How to finish, care, and store leftover tips
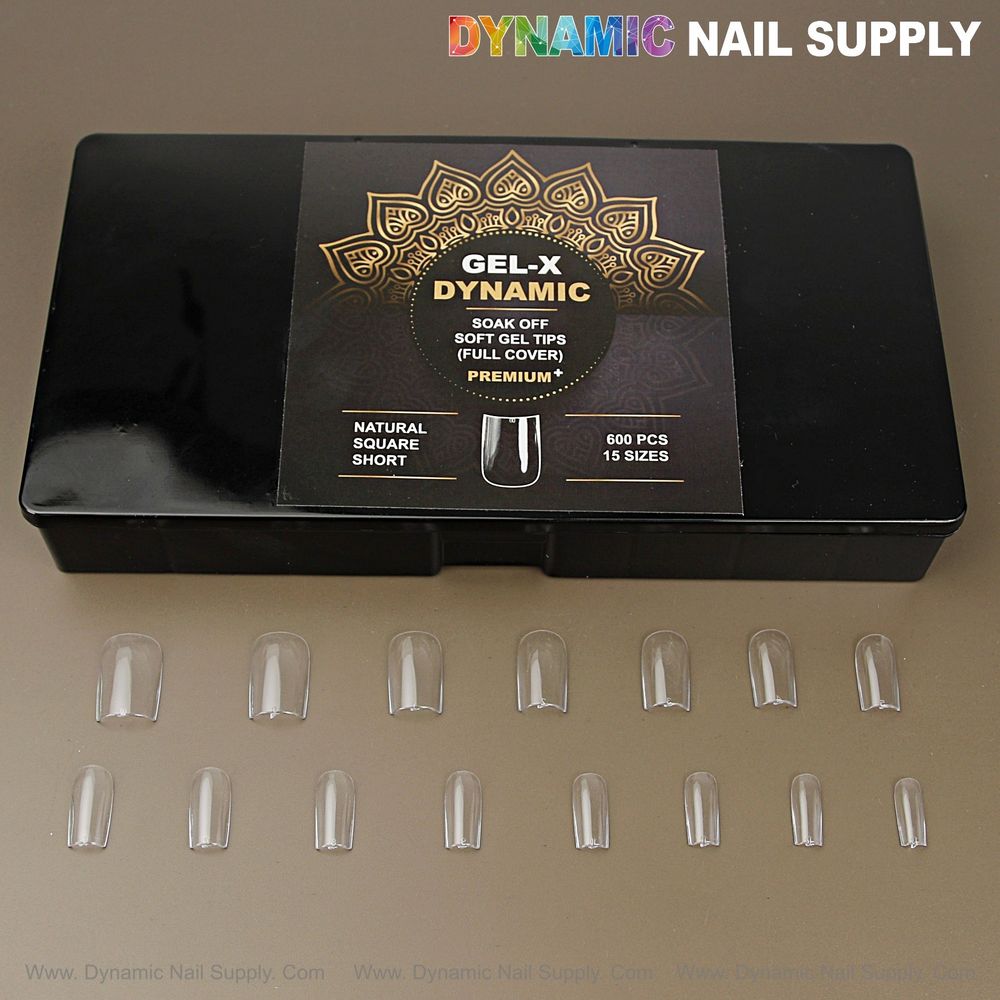
After curing and shaping, finish with a thin layer of top coat to blend the joint if needed and cure. For presentation, the clear tips take polish, decals or a single metallic accent well — the black box imagery even suggests a luxury black-and-gold look if you want a showpiece accent. Store unused tips in their original separated trays to retain size order and prevent scuffing of the glossy surface. Keep them away from heat and direct sunlight to preserve their clarity.
Mini glossary
- Full cover: a tip that overlays the entire natural nail plate.
- Soft-gel: flexible soak-off gel material used for tip construction.
- Seat angle: the 45° angle used to apply the tip to evacuate air.
- Extend gel: the builder or glue gel used under the tip for adhesion.
In short: measure by plate width, choose the closest size or one up for comfort, trim then file to a sharp short-square edge, and use thin adhesive beads with correct seating to prevent lifting. For quick reference and for ordering, you can inspect the compact black box presentation and the separated sizes when you need to stock or replenish https://dynamicnailsupply.com/products/natural-square-short-full-cover-soft-gel-nail-tips-black-box
Quick reference
- Measure across the widest part of the nail plate.
- Pick the matching size number or one up for wider plates.
- Trim length first, then file corners for a square finish.
- Use thin gel bead, seat at 45°, flash then full cure.
- Store tips by size in original trays to avoid scuffs.
Safety note: keep the tips and uncured gels away from open flames and extreme heat. Avoid prolonged contact between uncured product and skin; follow product cure times and salon hygiene practices at all times.