
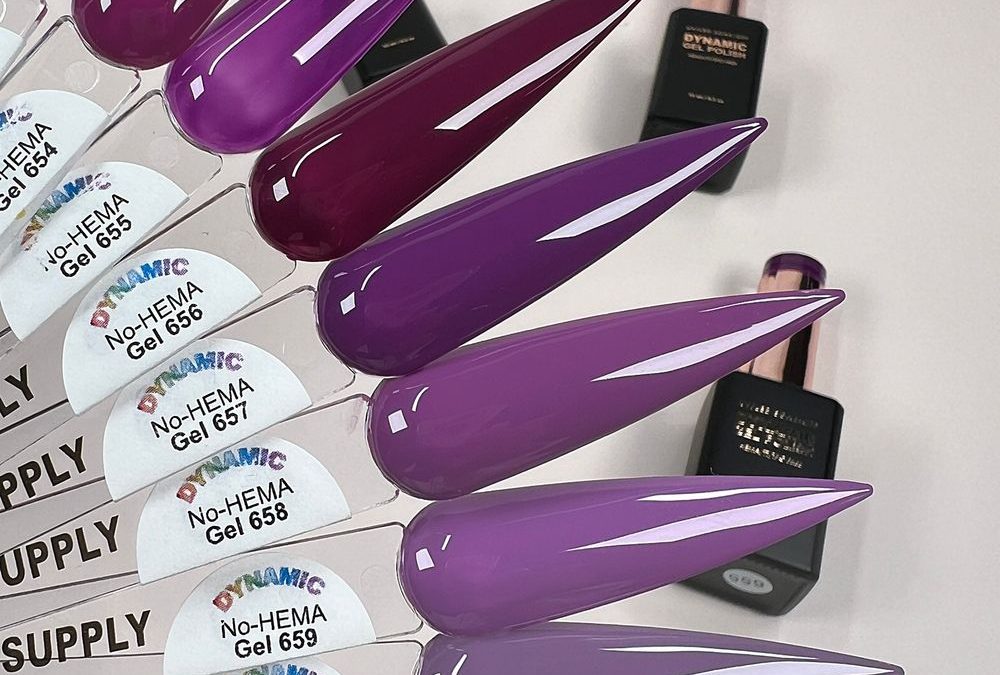
Picture a client at your station under a lamp, nails prepped and cuticles pushed back, asking for a bold gradient that starts loud at the tips and fades soft toward the cuticle; you want a kit and a workflow that travel well and produce a clean, opaque blend without fiddly layering or muddy transitions.
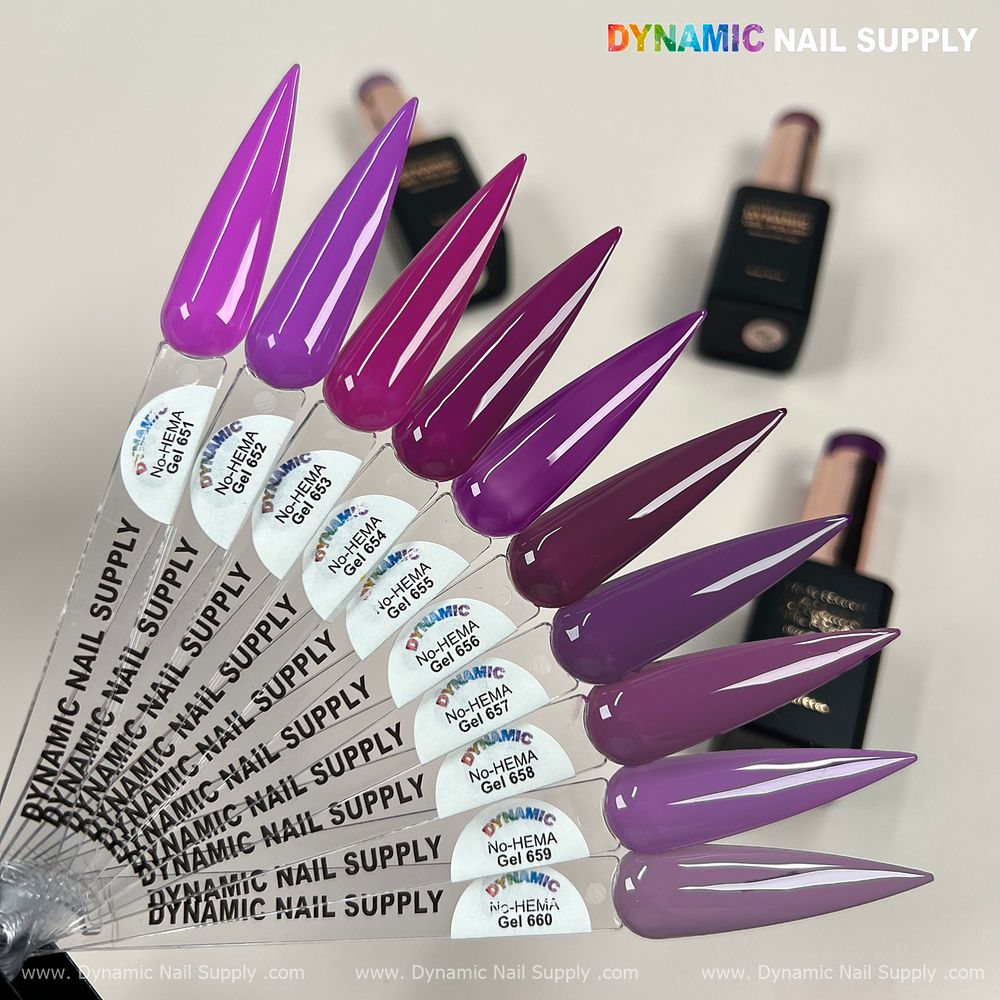
How to assemble a compact ombré kit
For a mobile setup or a neat home kit, you don’t need a lot of bottles — you need the right ones. Choose three anchor shades from the 10-color row that moves from neon fuchsia to pale lavender: a neon fuchsia for the tip anchor, a vivid orchid purple for the midtone, and a pale lavender for the fade. Add a thick base, a high-gloss top, a 15ml bottle curing lamp (LED/UV), a fine synthetic blending brush or fan brush, a small silicone palette, lint-free wipes, and isopropyl alcohol for tack-free wiping. Keep tools in a slim case sized to fit on a small work tray so the entire kit stays portable and service-ready.
How to prep the nail for a durable cream ombré
Start by removing any old polish, lightly buffing the shine, and de-greasing the nail plate. Shape the free edge and push back cuticles so the polish sits clean at the proximal seam; if you work on natural nails, a light dehydrator followed by a thin, even base coat helps adhesion without adding lift. Cure the base coat fully according to your lamp’s guidance so the first color layers sit on a stable surface that resists wrinkling or bubbling during blending.
For product reference and compact set selection, consider this palette option for an all-in-one approach:
How to paint and blend the neon to lavender ombré
Work finger by finger to keep the wet edge manageable. Apply the neon fuchsia at the free edge in a thin, opaque pass — the thicker base in each bottle helps you build coverage without streaking. Cure briefly for 15–30 seconds to tack the edge but not fully lock it, which gives you a stable tip to blend from. Next, pick up the vivid orchid purple on a clean brush and place a small bead where the neon meets the middle third of the nail. Immediately use a clean, slightly dampened brush or a dry fan brush to feather the seam toward the cuticle in gentle, single-direction strokes so pigments intermix without streaking.
Lay down the pale lavender at the proximal third, keeping that layer thin; when you drag from lavender toward orchid, use feathering strokes that pull pigment outward rather than scrubbing back and forth. If the lamp you use cures fast, do short flash cures of 5–10 seconds after each blended pass to prevent migration, then finish curing the whole nail for 60–120 seconds per the lamp and product cure guidance.
How to refine opacity and finish the set
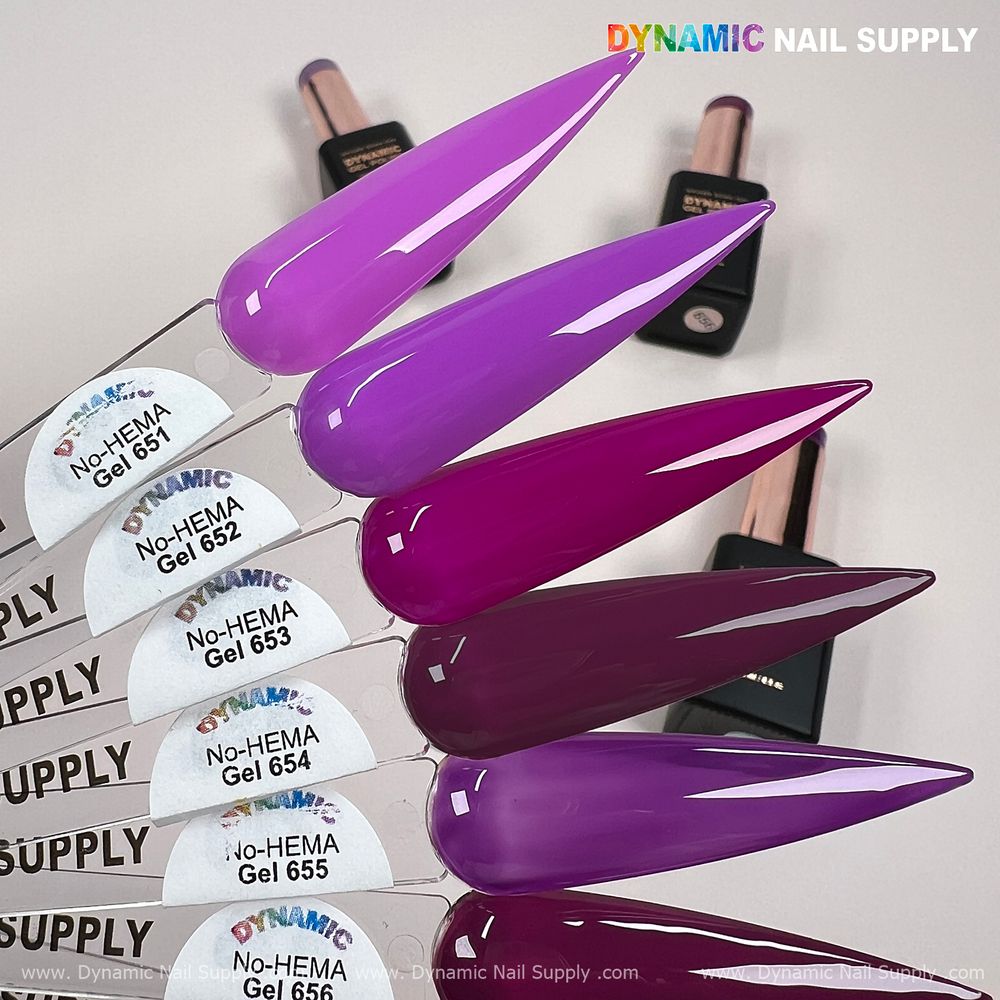
If any banding remains after the full cure, reapply a micro-layer of neon fuchsia only over the tip and repeat the feathering toward the middle, then cure. For a crisp gradient that still reads glossy in photos, seal with a high-gloss topcoat and cure the full time. Wipe the inhibition layer with isopropyl alcohol if the topcoat leaves a tacky film. A matte finish can be achieved by substituting a matte seal, which also makes the color transitions read softer and more blended.
How to spotlight No-HEMA Gel 651
No-HEMA Gel 651 is the neon fuchsia anchor in this palette and it pulls the entire ombré toward a bold, saturated finish. Because it’s bright and highly pigmented, you can build a full opaque tip in a single controlled pass; that makes it ideal for mobile kits where you want fewer layers and faster service time. Use 651 at the free edge and feather it into the adjacent orchid shade for the most striking tip brightness without losing the soft lavender fade at the base.
How to pack and use this palette on the go
When you pack for a mobile appointment, tuck each 15ml bottle into foam slots and label them in order from neon to pale so you can work left-to-right without second guessing. Bring spare brushes and small jars of alcohol for immediate cleanup; keep a compact curing lamp with an adjustable timer so you can flash-cure between passes. Prices for individual shades range from $8 each or $80 for a whole set, which may change; choose the format that fits your service volume.
How to handle safety and care
Work in a ventilated area and avoid prolonged skin contact with any uncured product. Keep lids tightly closed to preserve consistency, and store bottles upright away from direct sunlight to avoid thickening. Dispose of any lint-filled wipes or used alcohol pads safely and sanitize brushes between clients to maintain hygiene.
Mini glossary
- Flash cure — a short cure to set wet layers without fully locking them.
- Feathering — a one-direction stroke that blends two colors at their seam.
- Tack layer — a lightly cured layer that helps subsequent colors bond without shifting.
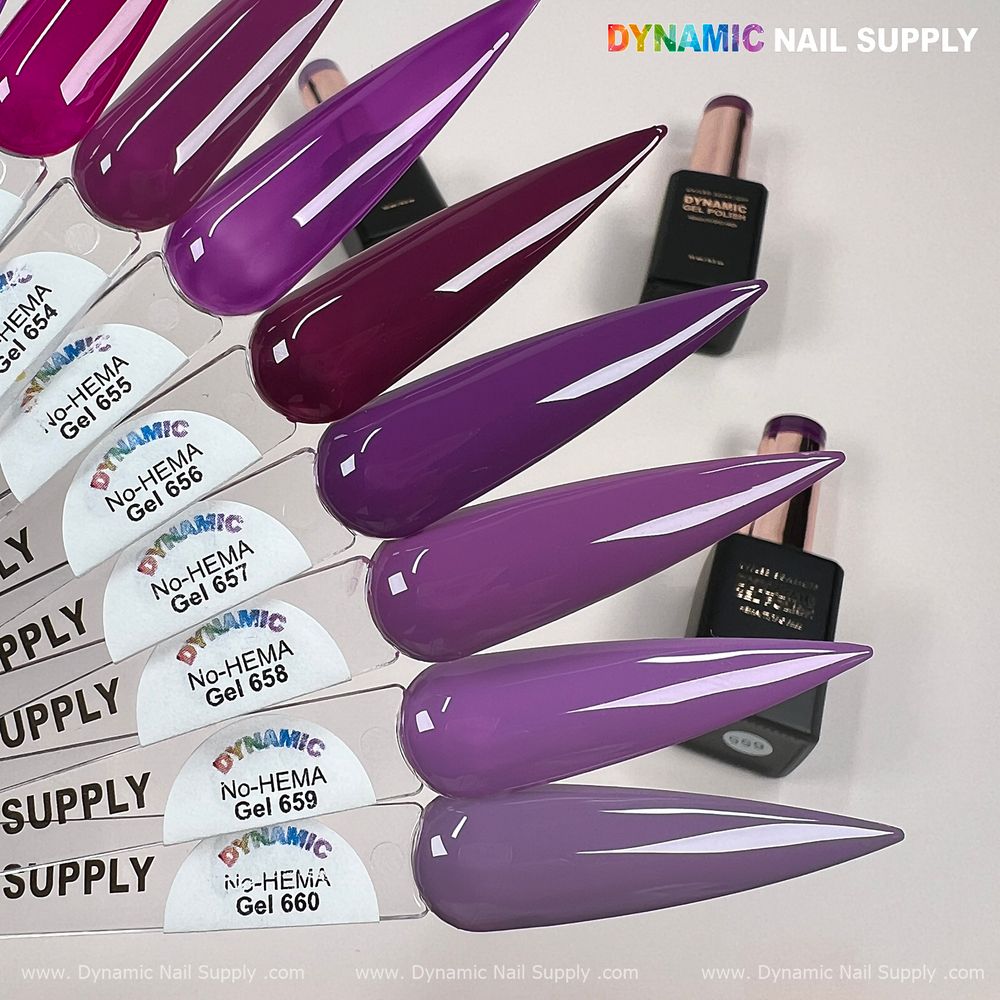
How to finish: quick reference
- Kit: neon, orchid, lavender, base, top, lamp, brushes.
- Prep: clean, thin base, full base cure.
- Paint: tip neon → mid orchid → base lavender; feather seams.
- Cure: short flash passes, full final cure 60–120s.
- Seal: high-gloss top, wipe inhibition layer if present.